You stare at the blank page. Or the pile of yarn. Or the half-open box of clay.
That itch to make something real with your hands won’t go away.
But where do you even start?
I’ve watched people freeze up trying to find one project that feels right. Not too hard. Not too boring.
Not another Pinterest trap.
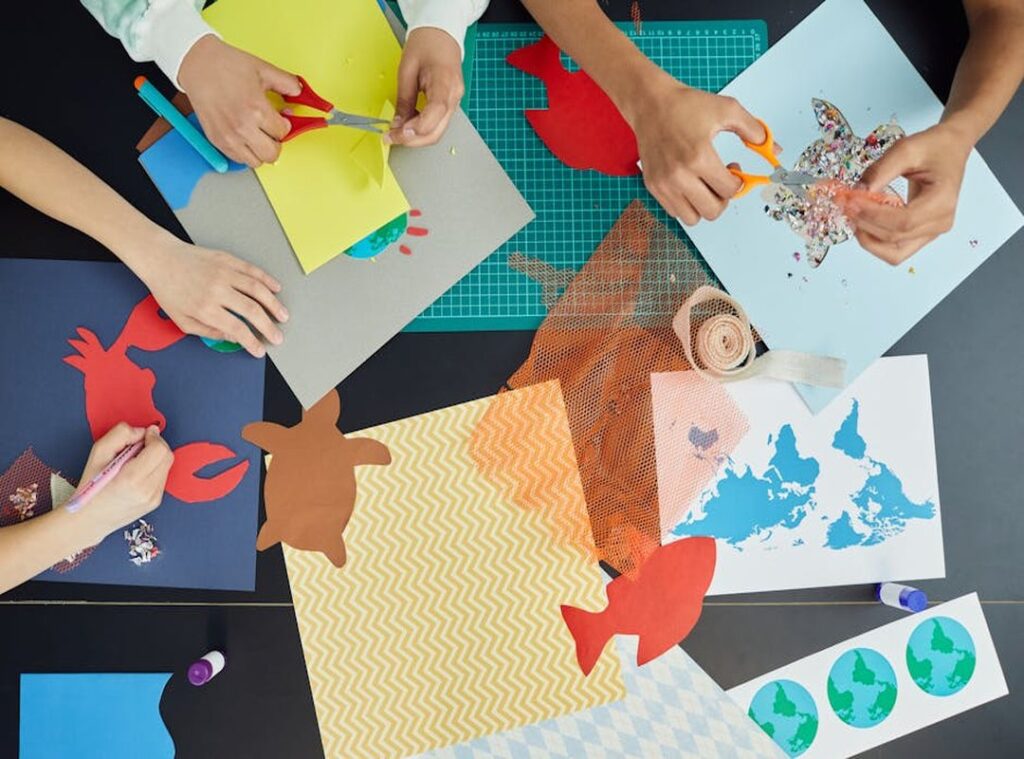
This isn’t about perfection. It’s about picking up scissors and feeling like yes, this is mine to mess up.
These Fun Crafts Lwmfcrafts projects are tested. Not by algorithms. By actual humans who quit halfway (then) came back and finished.
All skill levels. Zero pressure. Just clear steps and real results.
You’ll leave with one idea you want to try tonight. Not someday. Tonight.
No overthinking. No prep guilt. Just making.
The Lwmfcrafts Starter Kit: What You Already Have
Let’s cut the myth right now.
You do not need a craft store haul to start.
I’ve watched people stall for months waiting to “get the right supplies.”
Spoiler: you already own most of them.
Explore the full Lwmfcrafts philosophy and project ideas (but) first, grab what’s in your junk drawer.
The Foundational Five
Good scissors. Not the flimsy kind. The ones that cut paper and thread and thin cardboard without sawing.
They’re in your desk drawer or kitchen junk drawer. Find them.
A reliable glue. White school glue works fine for paper and cardboard. Hot glue?
Overkill unless you’re building 3D structures. I use Elmer’s. It dries clear.
It holds. Done.
A ruler. Metal if you have it. Plastic is fine.
Just make sure it has clean inch and centimeter marks. No tape measure. No laser level.
Just a straight edge you can trust.
Basic acrylic paints. The $2 bottles from the drugstore. Reds, blues, yellows, white, black.
Mix them. Layer them. Paint on cardboard, jars, old boxes.
No canvas needed.
Recycled jars and cardboard. Glass jars hold paint brushes. Cardboard becomes bases, templates, collages.
Stop calling it trash. Call it inventory.
The Lwmfcrafts Magic Touch
Colorful yarn. Not fancy wool. Just bright cotton yarn from a dollar store pack.
Wrap it. Weave it. Tie it around twigs.
Instant texture.
Felt sheets. They don’t fray. They stick to glue.
Kids and adults both reach for them first. It’s not magic. It’s just low-friction making.
Twigs, pinecones, pressed flowers (stuff) you pick up on a walk.
Nature doesn’t charge a subscription fee.
Pro tip: Keep all this in one shallow bin. No lids, no stacking. If it takes more than two seconds to grab, you won’t start.
Fun Crafts Lwmfcrafts starts where your hands land. Not where your credit card swipes.
Tin Can Magic: Ugly Trash, Instant Charm
I tried this on a Tuesday. My desk was buried in coffee-stained receipts and dried-up pens.
This is not another Pinterest craft that looks great until you try it.
It works. It’s fast. And it turns garbage into something you’ll actually use.
You need four things:
- Cleaned tin cans (labels peeled, edges sanded smooth)
- Decorative paper or acrylic paint
- White glue or Mod Podge
- Optional ribbon or twine
That’s it. No fancy tools. No trip to the craft store at midnight.
- Sand the can rim with fine grit. That sharp edge?
It cuts fingers. Don’t skip this. 2. Wrap the can with paper (measure) once, cut once, glue once.
Overlap just enough to hide the seam. 3. Press firmly from center outward. Bubbles mean you rushed.
Peel and re-do. 4. Glue ribbon around the top or bottom. Or don’t.
Your call.
Washi tape is my secret weapon. No glue. No wrinkles.
Just stick, trim, done.
I’ve used these as pen holders for years. They hold markers, scissors, even my phone when I’m too lazy to reach for the stand.
They also hold makeup brushes upright (no) more bristles bent sideways in a drawer.
You can read more about this in Inventive Lwmfcrafts.
And yes, they hold soil. Poke holes in the bottom, add gravel, plant a succulent. Done.
Some people say “upcycling is just recycling with extra steps.” I disagree. This is faster than washing the can and throwing it away.
You’re not saving the planet with one tin can. But you are making your space feel intentional.
Fun Crafts Lwmfcrafts has better ideas than most blogs. But this one? You don’t need a blog.
Just grab a can.
Your first one will take 12 minutes. Tops.
The second one? You’ll already be thinking about which color combo goes with your laptop sleeve.
Go find a can. Right now.
Woven Yarn Wall Hanging: Cozy, Not Complicated
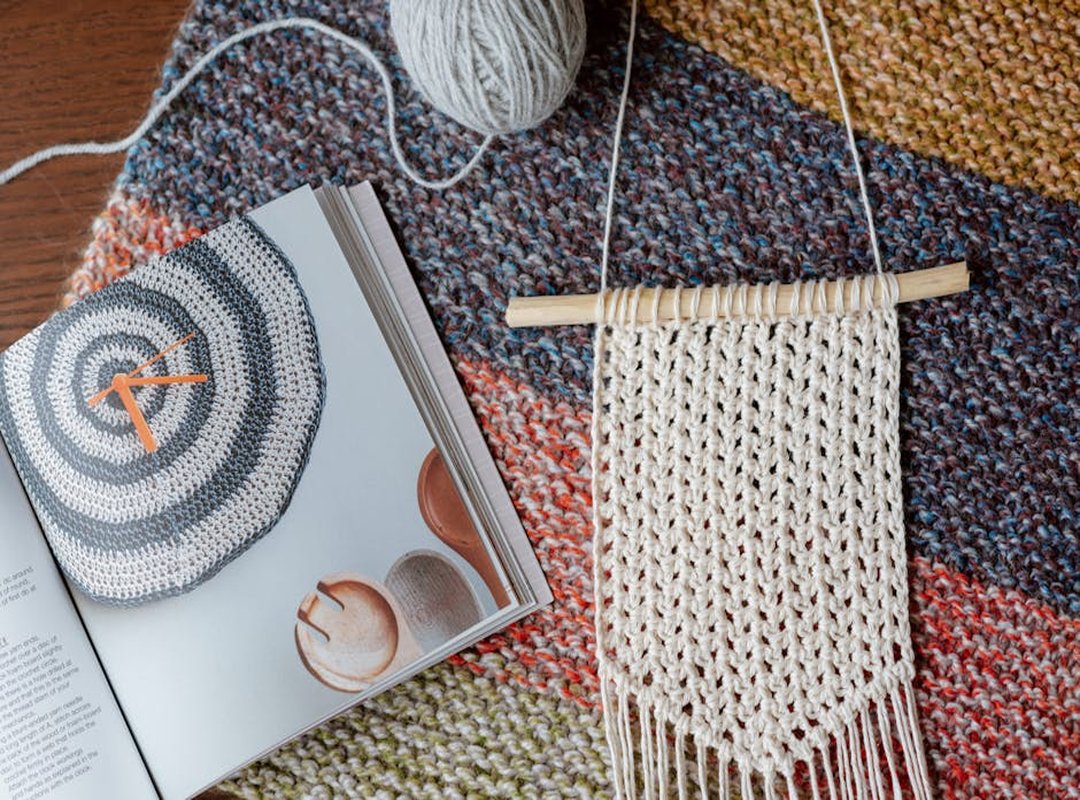
This is where your hands stop watching and start doing.
You’ve made a basic macramé plant hanger. Now you want something that lives on your wall (soft,) textured, full of quiet rhythm.
This type of wall art is a signature of the Lwmfcrafts aesthetic.
It’s not about perfection. It’s about rhythm. And yarn.
And that moment when you realize your living room just got warmer.
You need three things:
A stick or dowel (driftwood works. So does a $2 wooden curtain rod.)
Yarn (thick,) thin, fuzzy, smooth. Mix at least three textures.
Scissors. Sharp ones. Don’t skimp.
Start with the Lark’s Head knot. Fold each strand in half. Loop it over the dowel.
Pull the ends through the loop. Tighten. Do this 12. 16 times.
Space them evenly. That’s your base.
Then weave. Tabby weave means over-one, under-one, across. Use a comb or fork to pack it down.
Keep it loose enough to breathe.
Want texture? Braid three strands. Tie a square knot every two inches.
Loop one strand around another twice before pulling tight. (Yes, it looks messy at first. It’s supposed to.)
Finish with fringe. Trim the bottom straight or jagged. Or leave it wild.
Customization Corner: Slide wooden beads onto strands before knotting. Tuck in a single feather at the edge. Dip the fringe in tea or diluted acrylic paint for soft ombre ends.
This isn’t “crafting.” It’s making space feel like yours. I did one last week while listening to The Bear S3. No pressure.
Just yarn. Just hands. Just time.
If you want deeper texture ideas (like) how to layer weaves or stabilize slouchy sections (this) guide walks through it step by step.
Fun Crafts Lwmfcrafts is what happens when you stop waiting for permission to make something beautiful.
Hang it above your couch. Or your bed. Or your coffee maker.
Creative Block Is a Lie (Mostly)
I get stuck. You get stuck. Every single person who’s ever held glue in their hand gets stuck.
It’s not failure. It’s just your brain saying slow down.
So here’s what I do instead of waiting for lightning:
I grab a photo I love. Maybe my dog mid-sneeze or that weird sunset last Tuesday (and) pull five colors from it. Not more.
Five. Then I make something using only those.
I go outside barefoot (or in socks, whatever). I call it a texture walk. I touch bark, pick up cracked mud, rub smooth river stones.
I bring three things home. No rules. Just texture.
And when I hate an old project? I remake it. Same shape.
New colors. Total betrayal of the original. Works every time.
Lwmfcrafts is about finding beauty in the everyday and turning it into art.
That means your coffee stain, your kid’s scribble, that chipped mug. All fair game.
Creativity isn’t magic. It’s a muscle. And it gets stronger every time you use it.
Start with something small. Try one tip today. Then check out Easy Crafts Lwmfcrafts for ideas that actually work.
Your Hands Are Ready
I know that blank page feeling. That itch to make something real (then) the doubt kicks in. Where do I even start?
You don’t need a studio. You don’t need perfection.
You need Fun Crafts Lwmfcrafts, a few tin cans or some yarn, and twenty minutes this weekend.
That’s it. No gatekeeping. No “right way.” Just your hands, your rhythm, and a project that feels like play (not) pressure.
You wanted a roadmap. Here it is. Simple.
Clear. Yours.
So what’s stopping you from grabbing those supplies tonight?
Pick one. Tin cans or wall hanging. Doesn’t matter which.
You’ll learn more doing than planning.
Your next creative adventure isn’t waiting for permission.
It’s waiting for you to say yes.
Grab your scissors. Start Saturday morning. (We’re the #1 rated craft guide for beginners (no) fluff, just fun.)
 Bernardon Holmanate has opinions about art techniques and methods. Informed ones, backed by real experience — but opinions nonetheless, and they doesn't try to disguise them as neutral observation. They thinks a lot of what gets written about Art Techniques and Methods, Trends in Contemporary Art, Exhibition Announcements and Reviews is either too cautious to be useful or too confident to be credible, and they's work tends to sit deliberately in the space between those two failure modes.
Reading Bernardon's pieces, you get the sense of someone who has thought about this stuff seriously and arrived at actual conclusions — not just collected a range of perspectives and declined to pick one. That can be uncomfortable when they lands on something you disagree with. It's also why the writing is worth engaging with. Bernardon isn't interested in telling people what they want to hear. They is interested in telling them what they actually thinks, with enough reasoning behind it that you can push back if you want to. That kind of intellectual honesty is rarer than it should be.
What Bernardon is best at is the moment when a familiar topic reveals something unexpected — when the conventional wisdom turns out to be slightly off, or when a small shift in framing changes everything. They finds those moments consistently, which is why they's work tends to generate real discussion rather than just passive agreement.
Bernardon Holmanate has opinions about art techniques and methods. Informed ones, backed by real experience — but opinions nonetheless, and they doesn't try to disguise them as neutral observation. They thinks a lot of what gets written about Art Techniques and Methods, Trends in Contemporary Art, Exhibition Announcements and Reviews is either too cautious to be useful or too confident to be credible, and they's work tends to sit deliberately in the space between those two failure modes.
Reading Bernardon's pieces, you get the sense of someone who has thought about this stuff seriously and arrived at actual conclusions — not just collected a range of perspectives and declined to pick one. That can be uncomfortable when they lands on something you disagree with. It's also why the writing is worth engaging with. Bernardon isn't interested in telling people what they want to hear. They is interested in telling them what they actually thinks, with enough reasoning behind it that you can push back if you want to. That kind of intellectual honesty is rarer than it should be.
What Bernardon is best at is the moment when a familiar topic reveals something unexpected — when the conventional wisdom turns out to be slightly off, or when a small shift in framing changes everything. They finds those moments consistently, which is why they's work tends to generate real discussion rather than just passive agreement.